A lot of people have asked how I style a set… ok, no they haven’t, but I need things to blog about and this is one of my favorite parts of photographing newborns and babies. I’m a pretty creative and crafty person so I spend a lot of time thinking about color schemes and putting pretty things together. We just moved into a new house and designed a new kitchen and I’ve done at least 7 DIYs to accessorize including, but not limited to: Lego keychain holder, hexagon paper cutout art, repainting my KitchenAid, and water proofing my new butcher block countertops. I need to do the things or my tiny brain explodes. So, here we go!
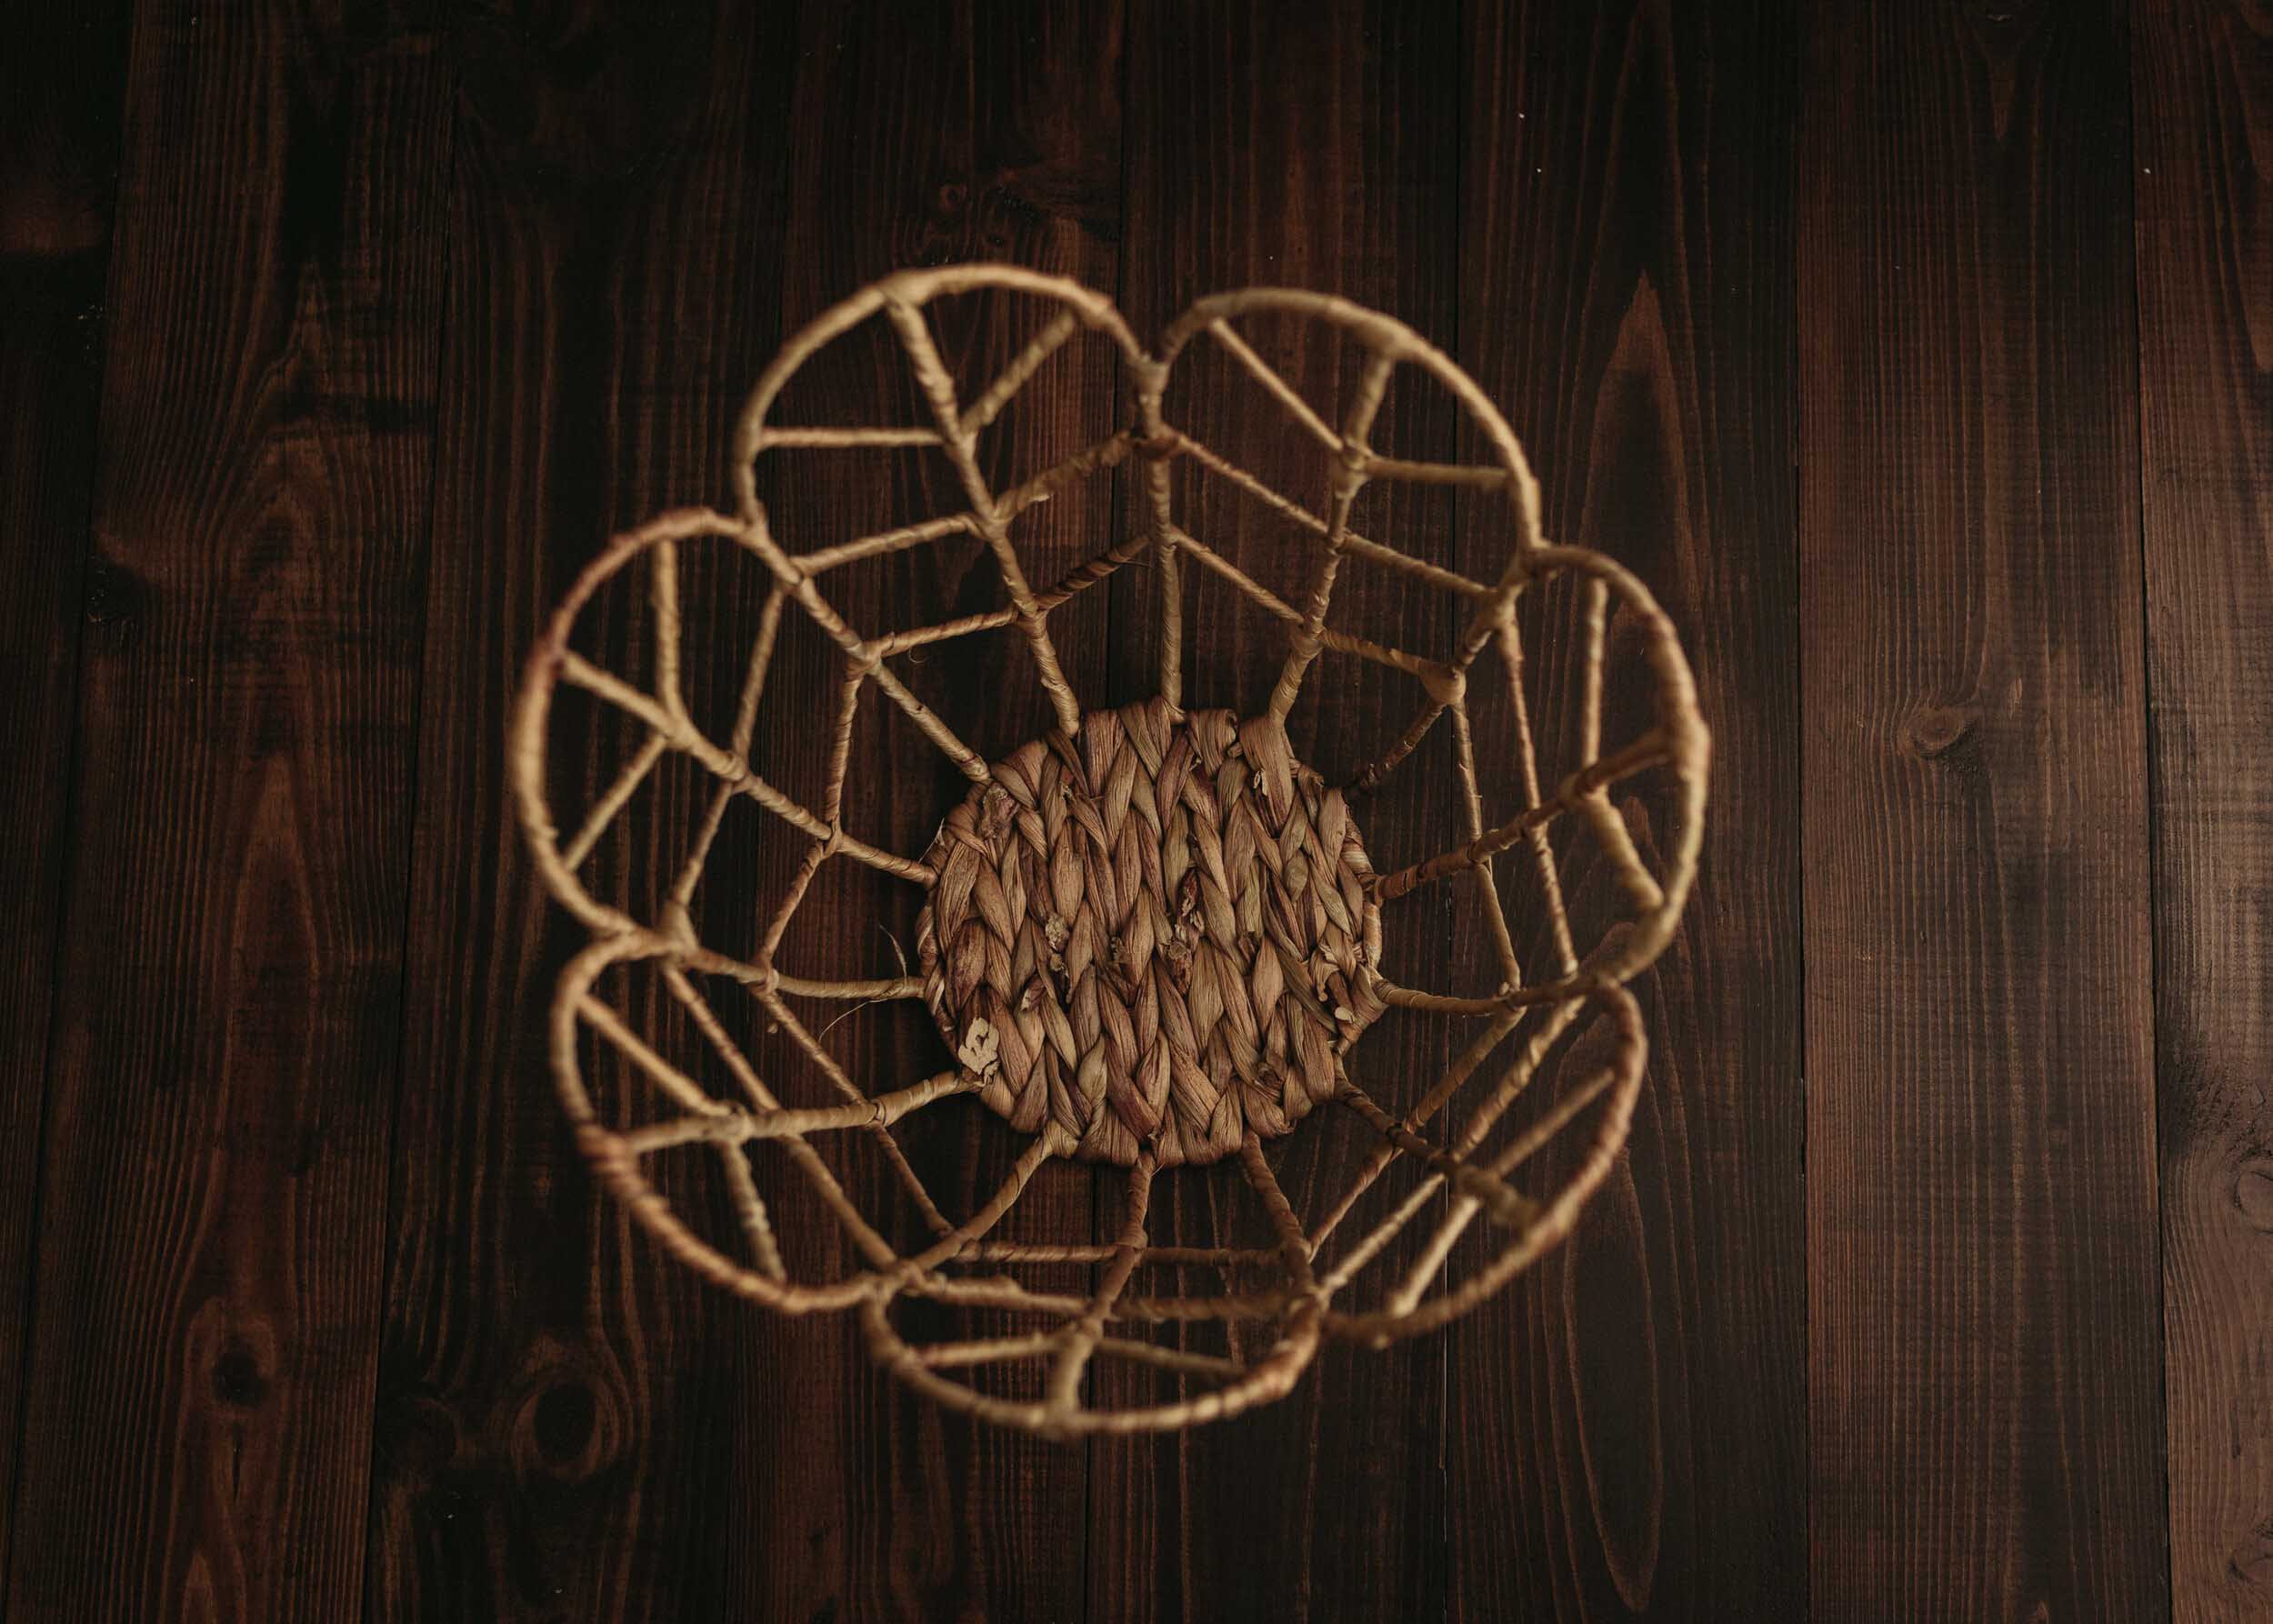
I start with something I just made or have been wanting to use. Usually a prop or a new tieback. With this set I started with a new rattan basket I picked up at Target yesterday while I was grocery shopping (shhhh.) It’s so cute. It looks like a tulip and I love it.

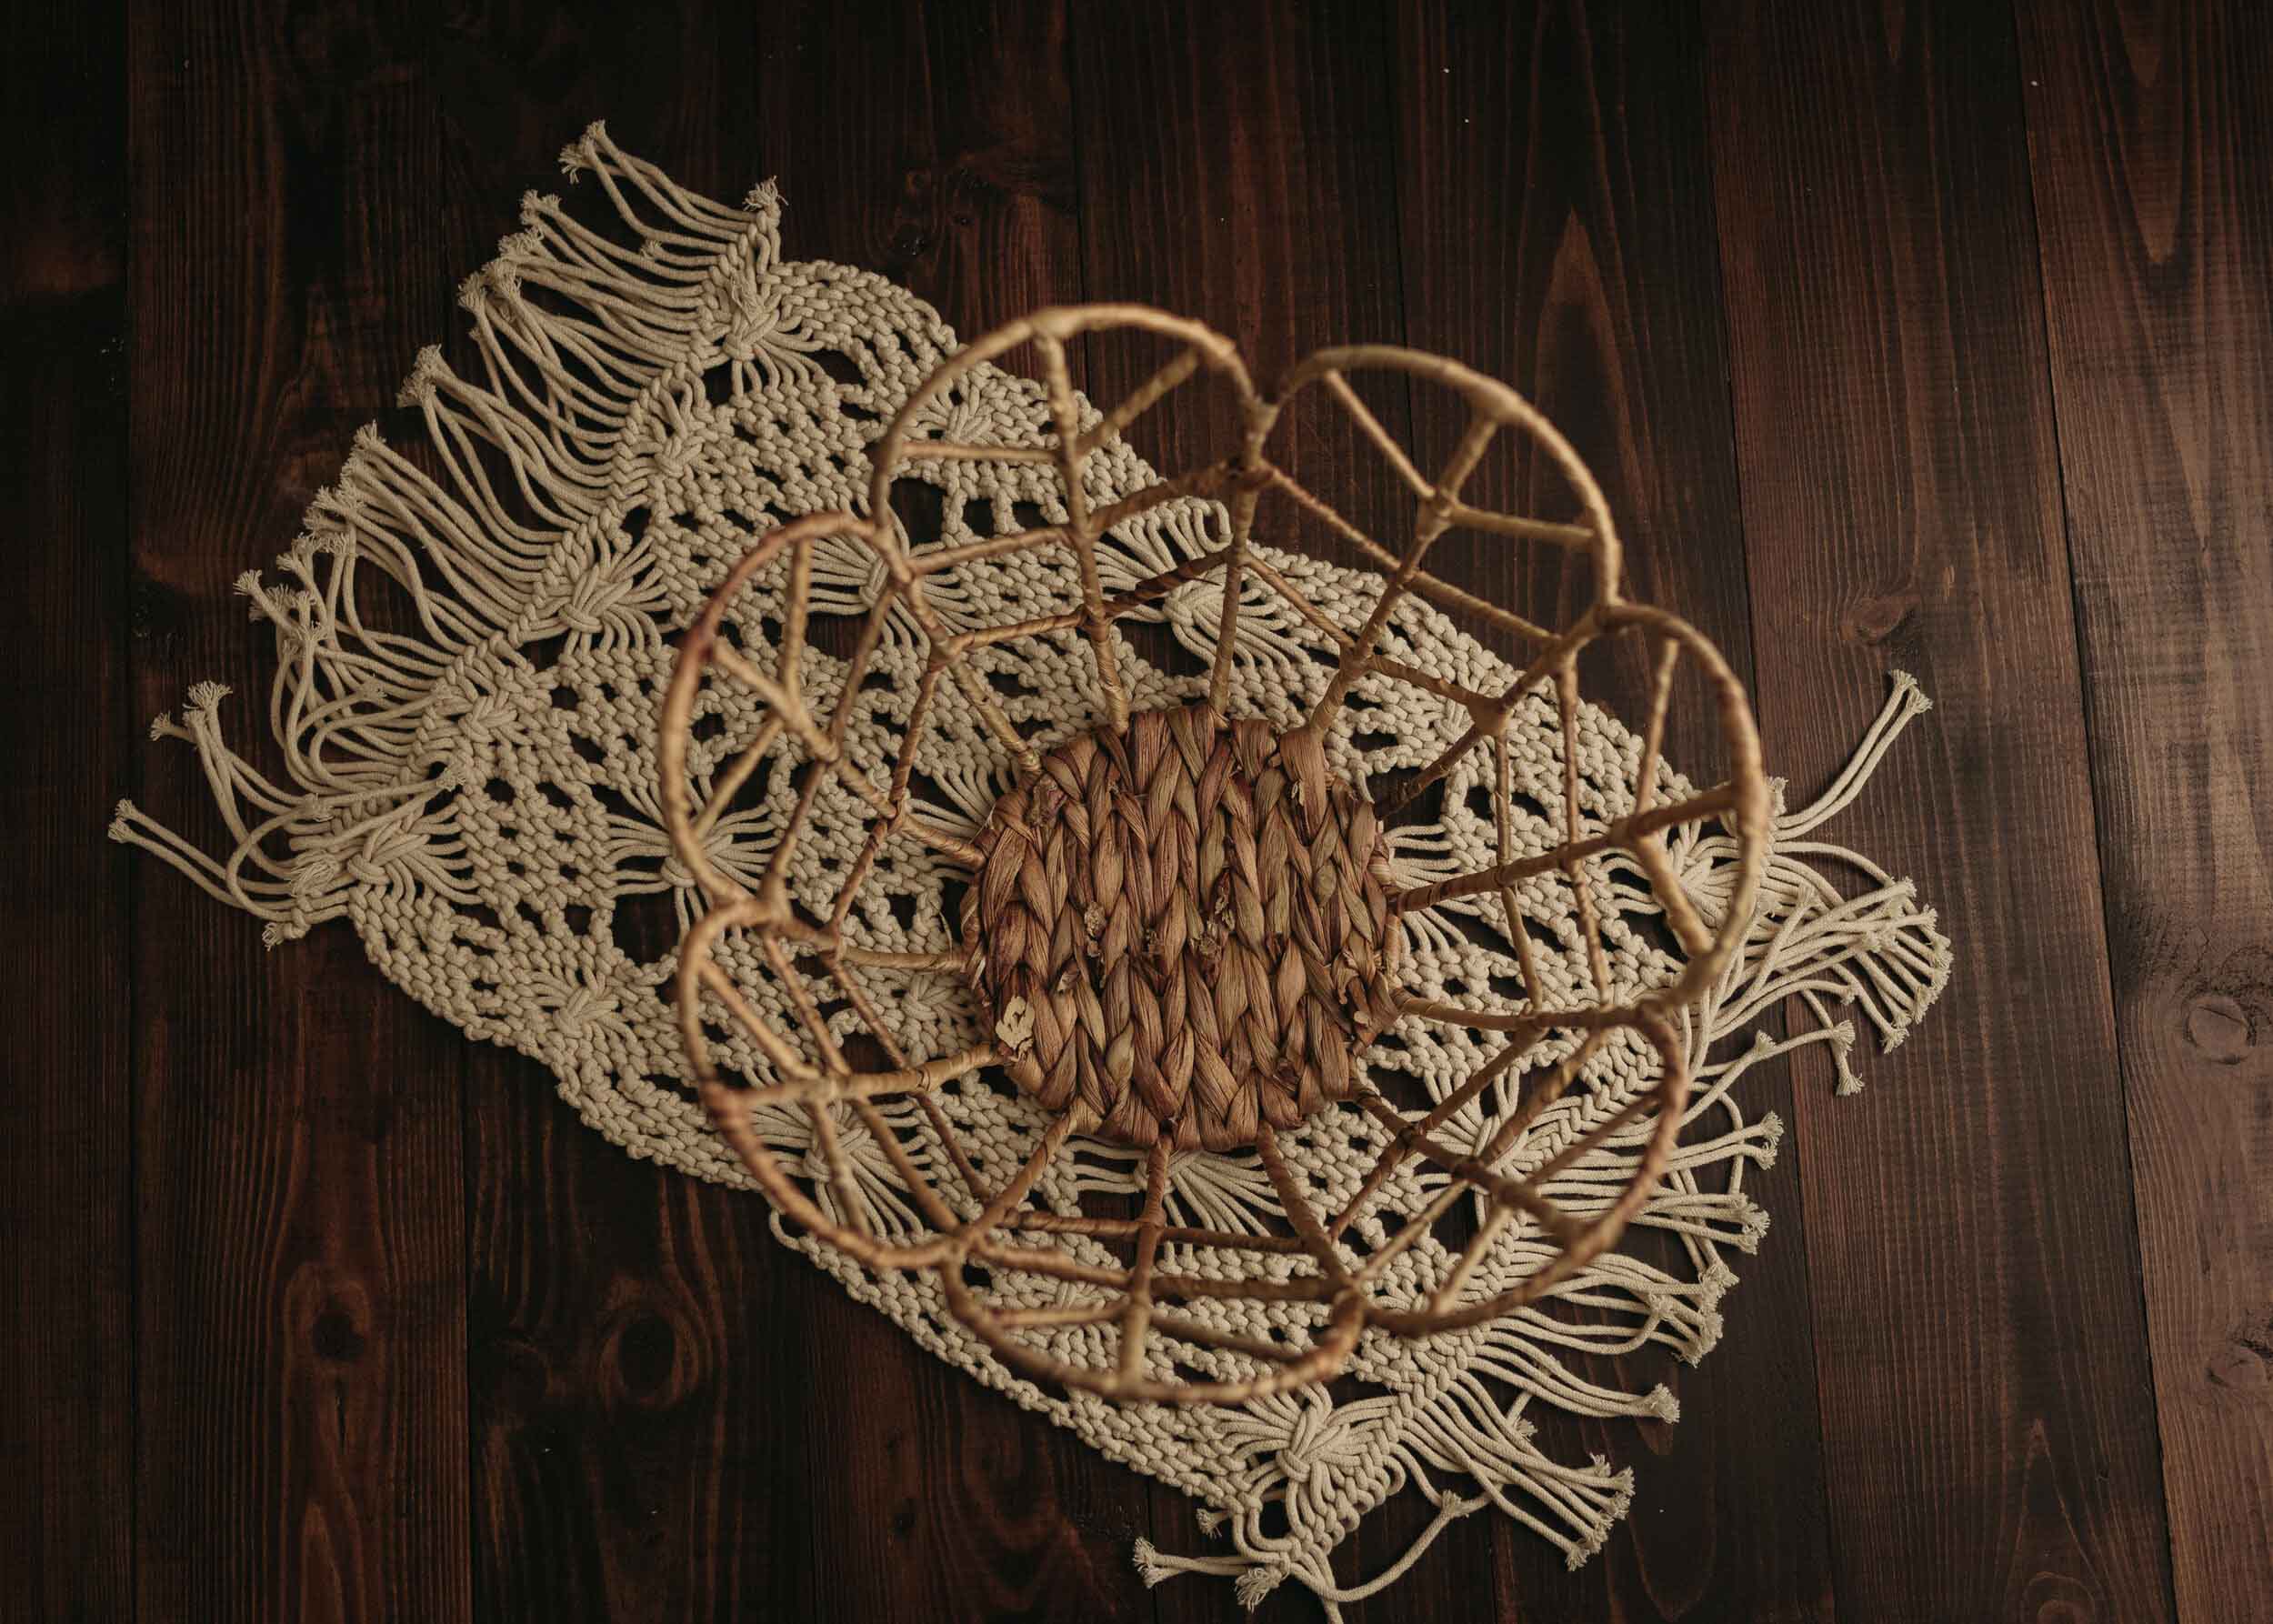
Next, I added a base layer under the basket. Since my floor is dark and the basket is a lighter shade of brown, I went with a contrasting layer in an off white. I prefer contrast and color rather than shade on shade so I generally go with a layer that’s different than the prop, unless I’m doing boho with only one pop of color.
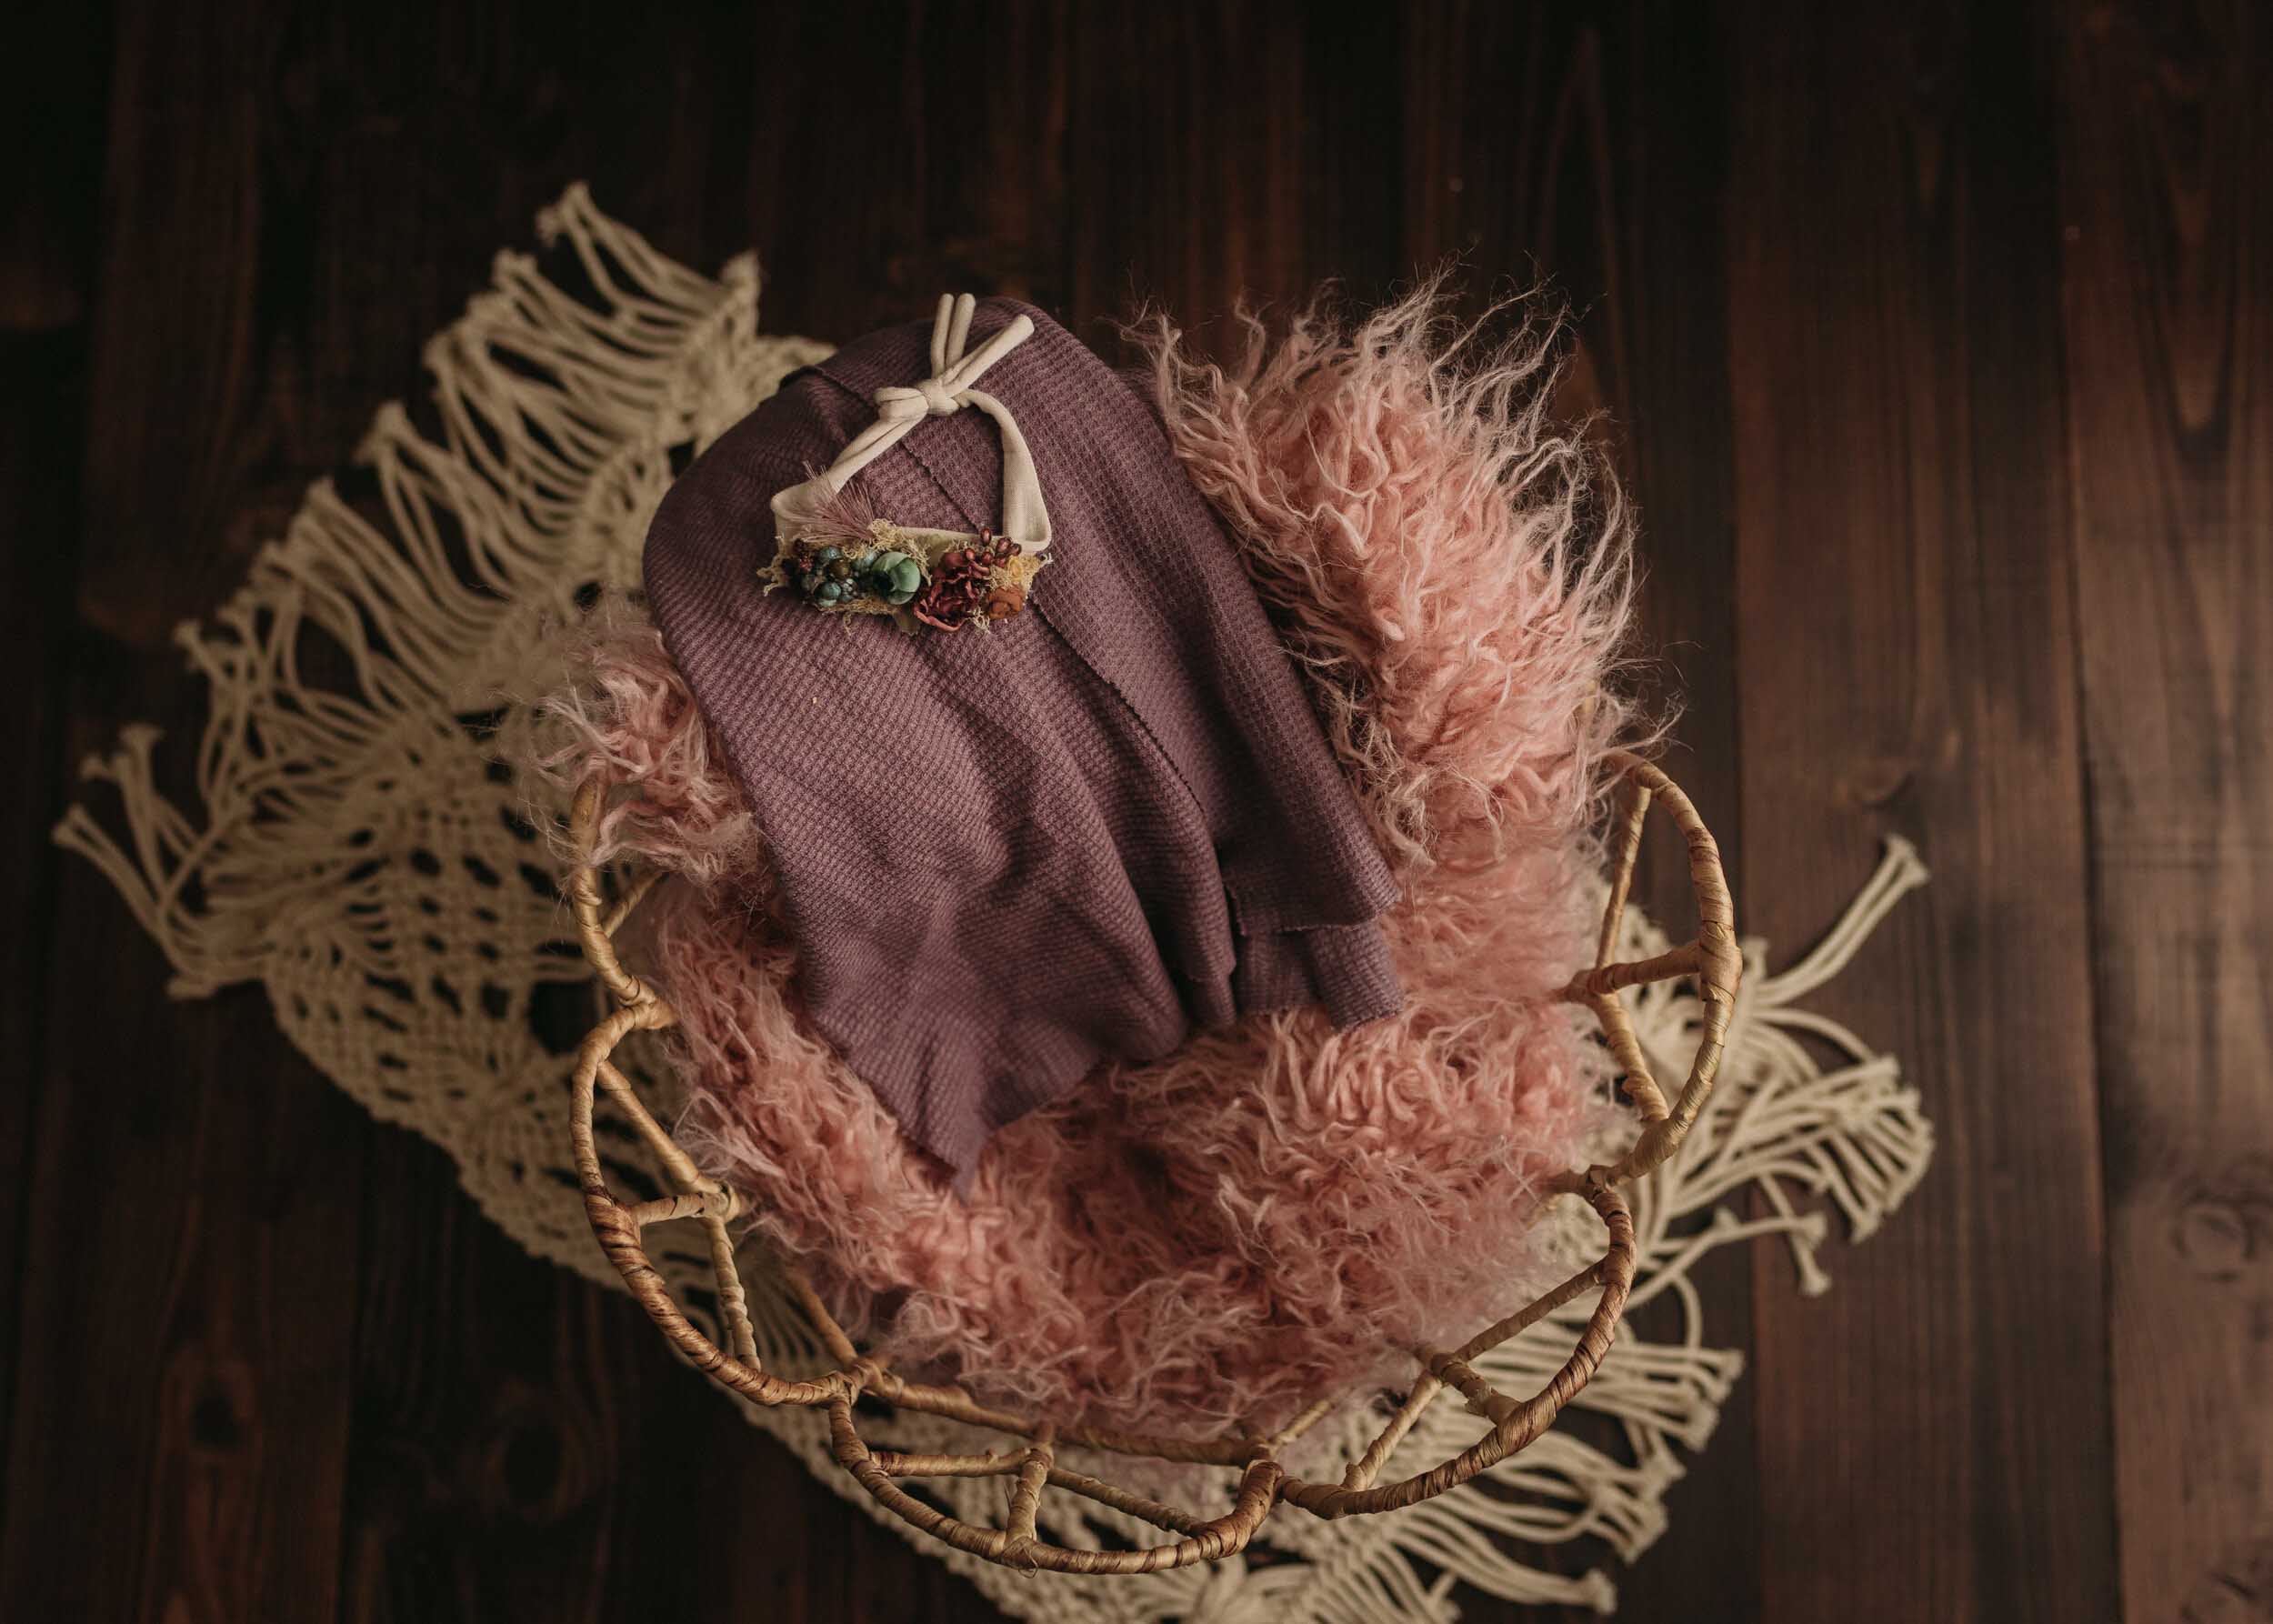
Now that I have a base, I pick out a tieback or bonnet so I have a color to start building around. I went with this little vintage rainbow tieback I just got from Girlologie, my fav prop shop on Etsy. I love the muted colors and I have a ton of things that will go with it.

Then I pick out a layer (and wrap if this is a wrapped set) to put in the basket so bubs is nice and comfy and to add a bit of texture.

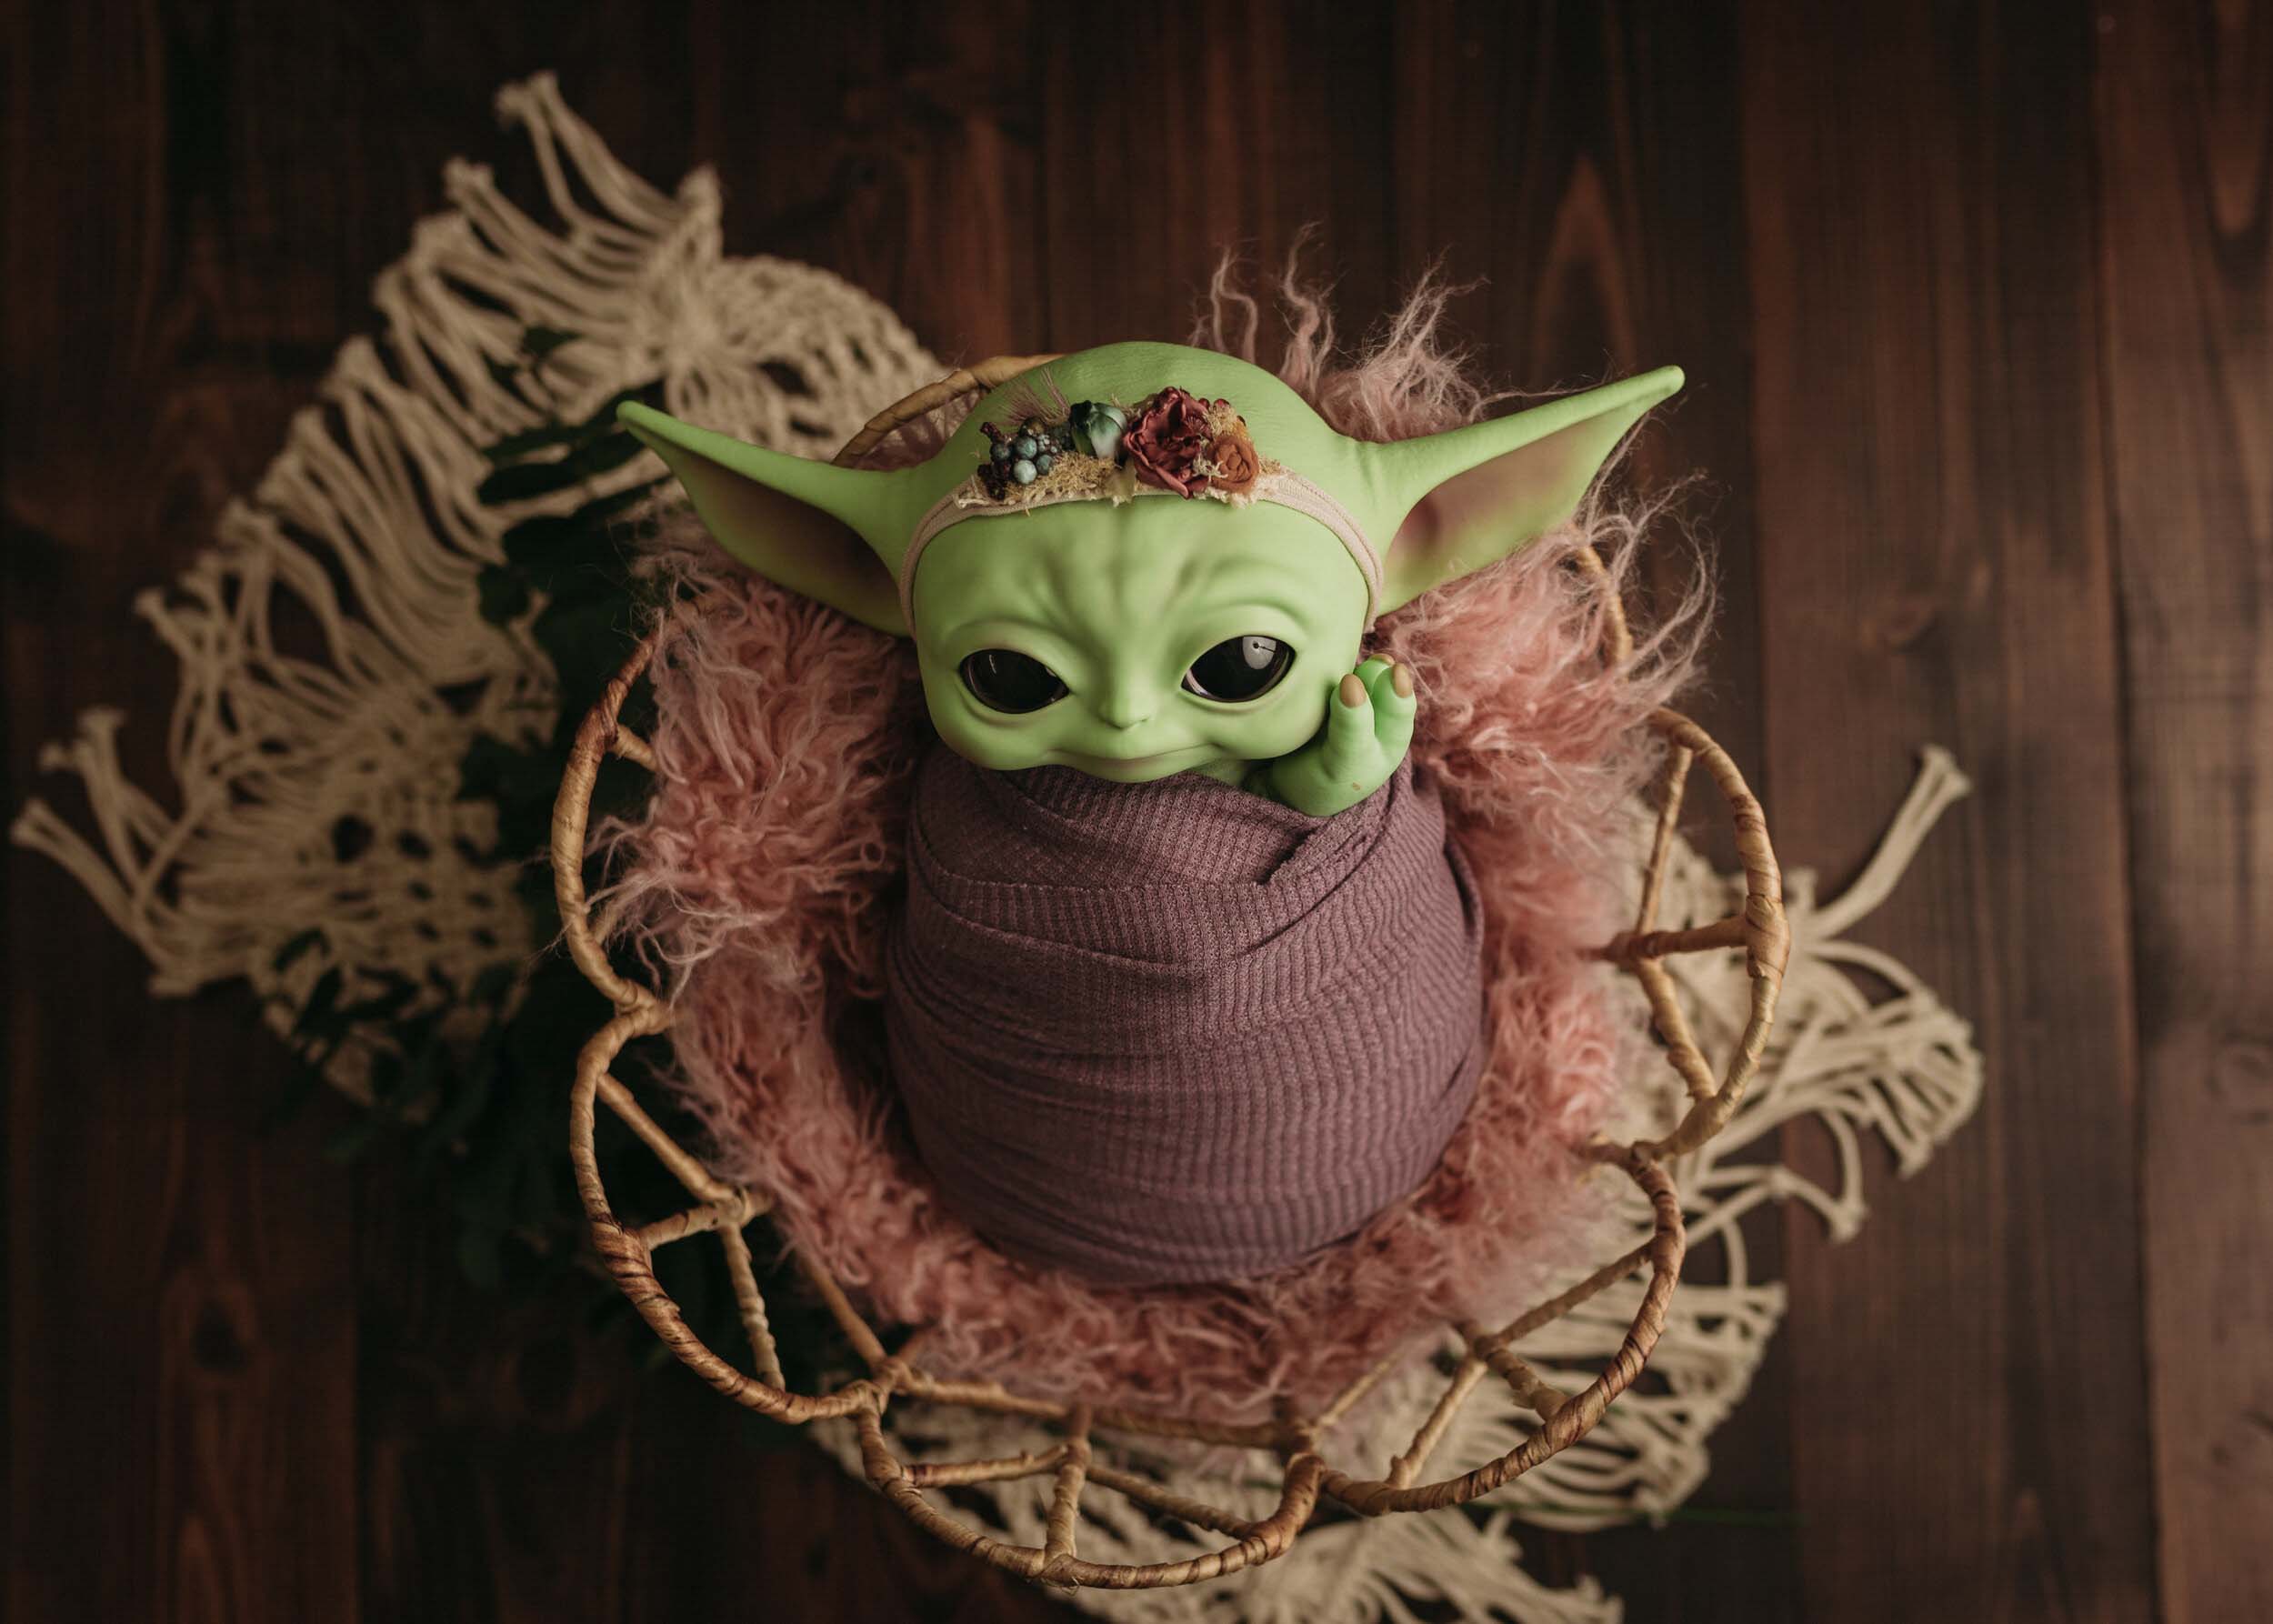
And finally, I add some greenery or florals for some more dimension and texture and that’s it! Time to put a baby in it!

Or a Grogu. If you don’t have a homemade baby, store bought is fine.


